Understanding Decision Nodes
Decision nodes let your workflow automatically choose different paths based on what was discussed in the conversation. They understand context and make smart routing decisions without any coding.
AI-Powered Analysis
Understands conversation context to make intelligent routing decisions.
Multiple Paths
Create as many output paths as needed for different scenarios.
How It Works
When a decision node runs, it analyzes the entire conversation and chooses which path to take based on your instructions. You simply tell it what to look for in plain English, and it handles the rest.
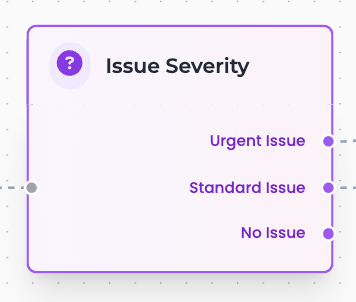
Decision node with three different output paths
Setting Up a Decision Node
Name your decision
Write the AI Instruction
Add output paths
Connect to next steps
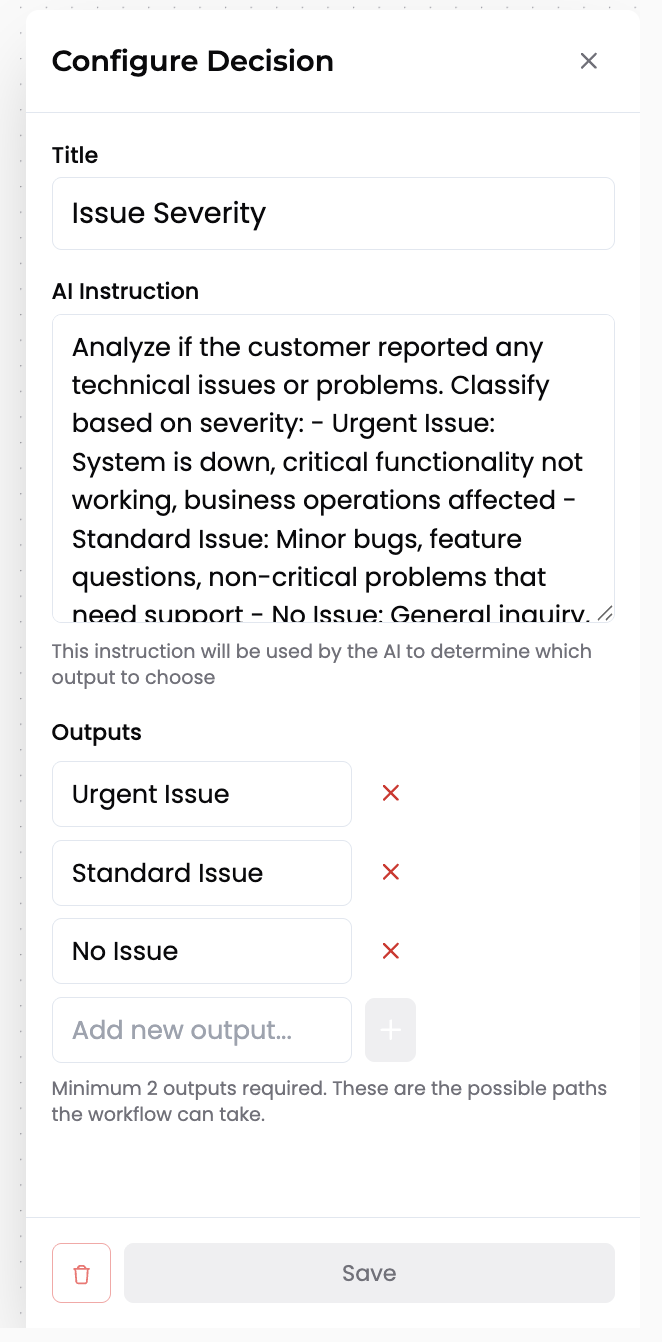
Configuring a decision node to check issue severity
Example Instructions
Checking Issue Severity
"Analyze the conversation to determine the severity of the issue. If they mention urgent, emergency, broken, not working, or immediate help, mark as 'Urgent'. For general questions or minor issues, mark as 'Standard'. If they're just asking for information, mark as 'No Action Needed'."
Identifying Customer Intent
"Determine what the caller wants to accomplish. Look for appointment requests, support issues, billing questions, or general inquiries. Choose the most relevant category based on the main topic of conversation."